


Just launched your Showit website & want to make sure people can actually find it through search engines? Want to optimize your current website for search engines to improve your chances of showing up in searches? One of the first things you’ll want to do is make sure search engines like Google can discover your website pages.
Submitting your sitemap to search engines helps with this, and in this post I’m going to walk you through how to submit your Showit website sitemap to Google Search Console.
This post contains affiliate links, which means I gain a commission at no cost to you if you decide to make a purchase through these links.
What Is A Sitemap & Why Is It Important?
A sitemap is basically a detailed roadmap of all the pages on your website. It contains information about the pages on your website and helps search engines like Google crawl/go through your website more efficiently, giving your web pages a chance to appear in search results.
Now, Google and other search engines can find these pages on their own over time, but that’s sort of like leaving it up to chance. To ensure Google catches & indexes every page on your website, especially when you’ve launched a new website or added new pages, it’s a great idea to submit your sitemap directly to Google Search Console. If you have a brand-new website, submitting your sitemap is a simple SEO task worth ticking off your list.
Google Search Console is a free Google tool that tracks your website’s search performance on Google and gives you important data like;
- what search terms are bringing people to your website
- which of your website pages are appearing in Google Search
- whether Google has indexed your pages or what indexing or technical issues your website might have
- how many people are clicking through to your website from Google
- your website’s search performance over time, etc.

Get your Showit website found by the right people
You have a great website; now it’s time to make sure people can actually find it. SEO can feel confusing when you’re faced with keywords, sitemaps, meta descriptions, image optimization, and a million things you’re apparently “supposed” to be doing.
The Showit SEO Guide breaks it all down into simple, manageable steps so you can start optimizing your website and get found by the right audience.
📍New to Showit? Sign up for a 14-day free trial and use code “17z676vn” to get one month free off your subscription.
Submitting Your Showit Sitemap to Google
1) Set up your Google Search Console
You’ll need to have Google Search Console set up for your website before you can submit your sitemap. If you haven’t set it up already, here are the steps to follow.
- Go to Google Search Console at https://search.google.com/search-console
- Click on the Start Now button and log in with your Google account (if you already have Google Analytics set up, it would be good to use the same Google account)
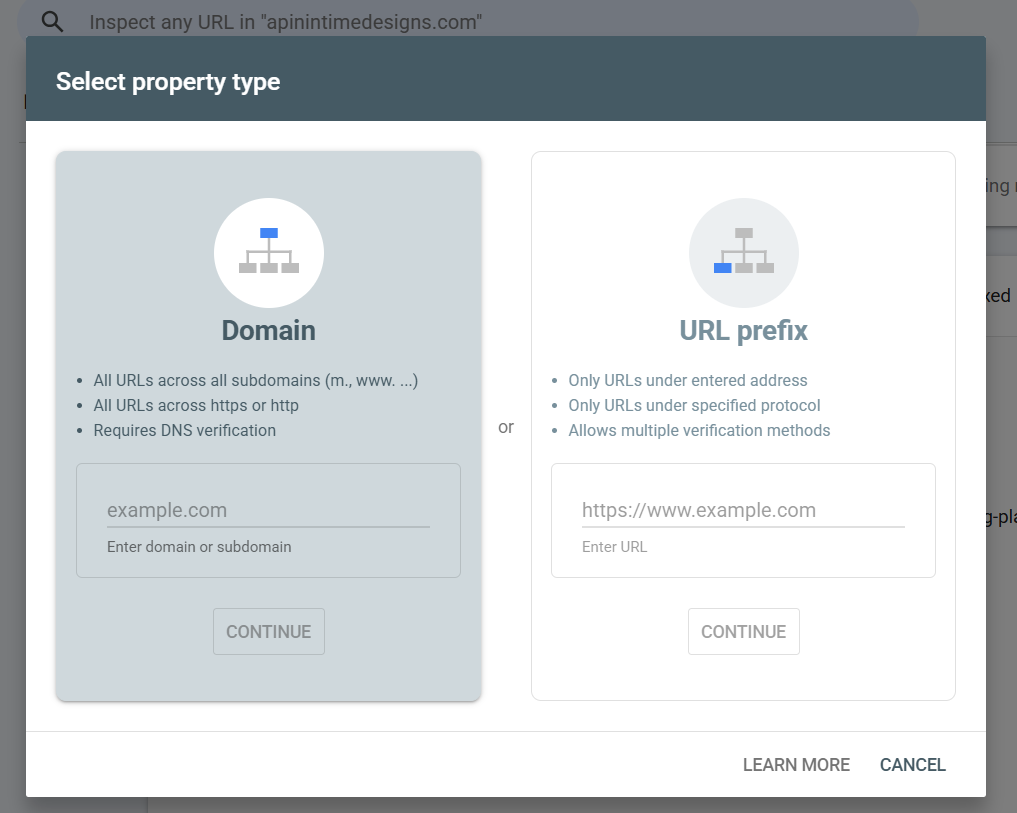
- Choose the Add a Website option and choose the Domain option in the Select Property Type pop-up that shows up
- Follow the instructions to verify you own the domain and complete the other setup steps to finish setting up your Google Search Console
2) Find Your Showit Website Sitemap
Showit automatically generates a sitemap for your website when you publish it (yay for Showit!), so you just need to submit the link for your sitemap in the Search Console.
You can find your Showit sitemap by going to: yourdomain.com/siteinfo.xml
So, if your website is www.example.com, your sitemap would be: example.com/siteinfo.xml
You can open this URL in your browser to check that your sitemap exists. Once you have it, you can submit it to Google Search Console.
If your Showit website has a functioning blog (Showit integrates with WordPress for blogging), then it’s also a good idea to generate a separate sitemap for it so that each blog post & page can be indexed easily by search engines. You can do this through the Yoast SEO plugin, a free plugin that comes installed on your blog. Just head over to the plugin’s settings, click on site features, and scroll down to the XML sitemaps and toggle it on; it’ll generate a sitemap for your blog, which you can view at yourdomain.com/sitemap_index.xml
You can submit both sitemap url’s to Google Search Console to cover all bases.
📍Related Post: The Best Free WordPress Plugins
3) Submit Your Showit Sitemap To Google Search Console
Now that we’ve found your website’s sitemap, it’s time to submit to Google.
- Log in to Google Search Console and go to your website property within it.
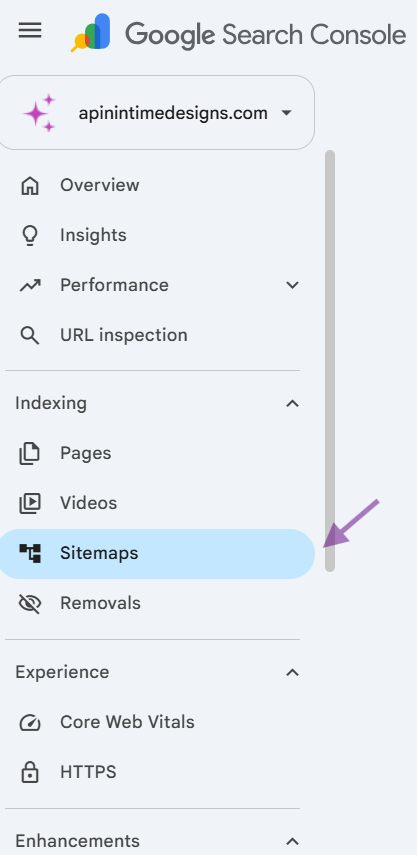
- Click on Sitemaps in the menu on the left side of the dashboard.
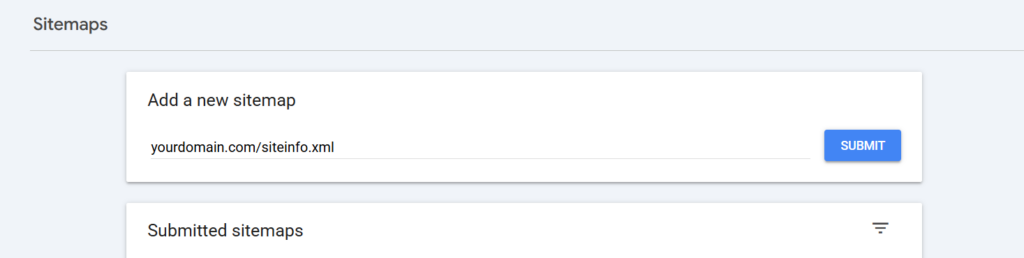
- In the sitemaps section, you’ll see a space to add a new sitemap.
- Put in your sitemap URL (eg. yourdomain.com/siteinfo.xml) and click submit.
That’s it! You’ve successfully submitted your Showit website sitemap to Google Search Console. Now Google will crawl through the pages in the sitemap and periodically check your sitemap for any updates. In the sitemaps section of the console, you can see all your submitted sitemaps and their status (if Google has successfully processed the sitemap), number of discovered URLs, and any errors or issues with the sitemap.
What’s Next?
Submitting your sitemap is an important task for optimizing your website for search engines, but it’s one of many other things you can do to increase your website’s SEO and show up in searches, like choosing the right keywords, optimizing your page titles and descriptions, alt titles & image optimization, creating useful content, and building backlinks to your website, etc.
SEO can sound a little intimidating at first, but you don’t need to be super techy to make your Showit website SEO-friendly. You just need some solid tools & strategies, plus a little consistency. If you’re working your way through your Showit SEO setup, don’t try to tackle everything at once. Start with the basics, work through each step, and build from there.
If you need help creating a professionally designed website that’s optimised and ready to grow with your business, I can help. I offer website design services, and if you’re more into DIY, check out my Showit website templates.
Want the full Showit SEO checklist? Download my free Showit SEO Starter Guide for a simple, beginner-friendly walkthrough of the SEO essentials for your Showit website.


